I’m not sure why I stopped using a planner after high school. Maybe it’s because no one was checking if I was using it. But I think that my needs in a planner has changed from writing down home to planning blog posts and work/school weeks out.
I did look at a few planners online, like the Erin Condren, and the Happy Planners. I did how customizable both are, but the Erin Condren planner was not in my budget, and my area does not have the Happy Planners. So what’s a girl to do? DIY it, of course!
I did look at a few planners online, like the Erin Condren, and the Happy Planners. I did how customizable both are, but the Erin Condren planner was not in my budget, and my area does not have the Happy Planners. So what’s a girl to do? DIY it, of course!
What I used:
-11’ by 8’ 1 inch binder
-Tape
-Scissors
-Sharpie pens
-Pencil
-Hole Punch
-Printables
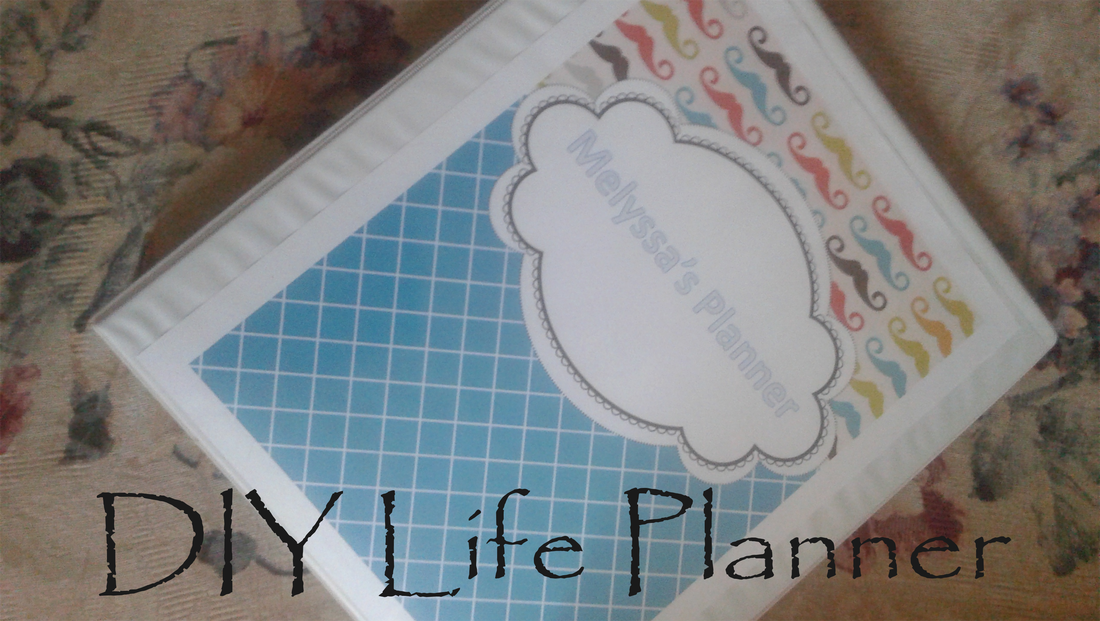
I started by finding a binder with a cover with a plastic sheet, so I could customized the cover. You can use any binder size or pattern you want to. Depending on the size, you may need to resize the printables.
Next I printed off enough pages for until the end of the year. I did this as I'm not sure how long I going to use this planner, and I didn't want to overfill the binder. I hole punched each sheet. The order I used for my planner is all the weekly schedules are first, then I have the Month at a Glance list, the monthly Blog Post Planner, and then the weekly blog post planner. Behind all the other page is the Pitchminder.
To make the tabs, I printed out one page of the Pastel Planner Accessories from Scattered Squirrel. I used scissors to cut out each tab in use, and folded them in half and taped the to the page.
The reason I selected the blog planning page as the base of my planner is I don't really have classes this year, and I'm hoping to get my blog more organized. The great thing about making your own planner is you get to pick the pages you need and will use, unlike other planners.
I will be adding more pages to my planner, so if you want to stay update with whats in my planner, follow my planner board on Pinterest. If you have any recommend for pages I should look at leave them in a comments.
-11’ by 8’ 1 inch binder
-Tape
-Scissors
-Sharpie pens
-Pencil
-Hole Punch
-Printables
-
Weekly Schedule
- Blog Planner (I used the Plan the Work, Work the Plan cover,Monthly planners, weekly planner, and Pitchminder)
I started by finding a binder with a cover with a plastic sheet, so I could customized the cover. You can use any binder size or pattern you want to. Depending on the size, you may need to resize the printables.
Next I printed off enough pages for until the end of the year. I did this as I'm not sure how long I going to use this planner, and I didn't want to overfill the binder. I hole punched each sheet. The order I used for my planner is all the weekly schedules are first, then I have the Month at a Glance list, the monthly Blog Post Planner, and then the weekly blog post planner. Behind all the other page is the Pitchminder.
To make the tabs, I printed out one page of the Pastel Planner Accessories from Scattered Squirrel. I used scissors to cut out each tab in use, and folded them in half and taped the to the page.
The reason I selected the blog planning page as the base of my planner is I don't really have classes this year, and I'm hoping to get my blog more organized. The great thing about making your own planner is you get to pick the pages you need and will use, unlike other planners.
I will be adding more pages to my planner, so if you want to stay update with whats in my planner, follow my planner board on Pinterest. If you have any recommend for pages I should look at leave them in a comments.


 RSS Feed